
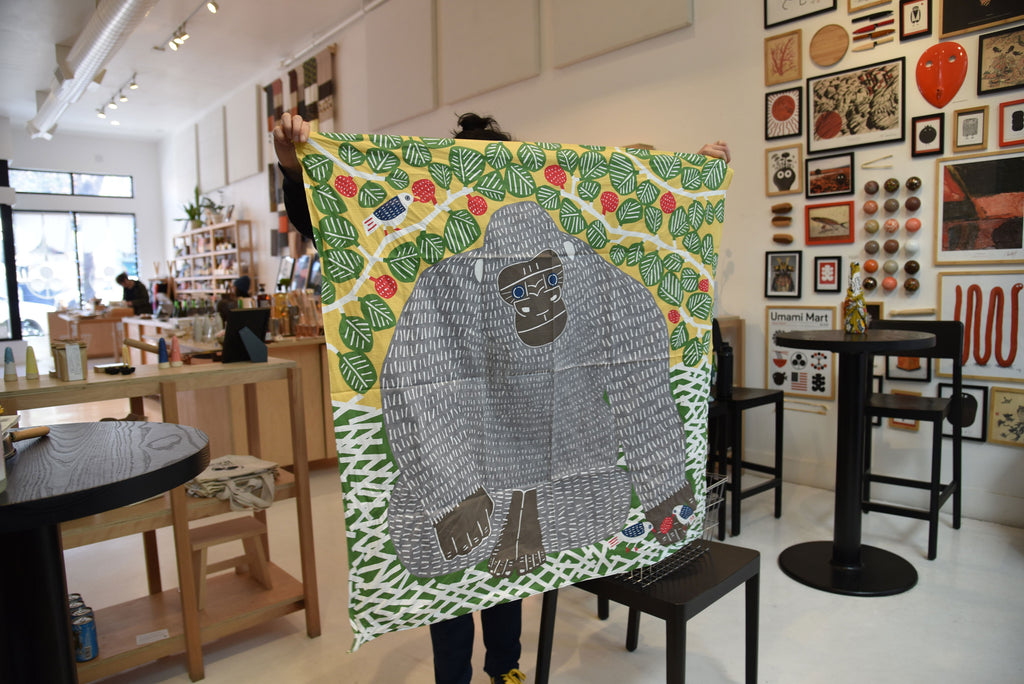
 Furoshiki are square pieces of fabric, usually made out of cotton or silk. The literal translation is "bath spread." Traditionally, furoshiki were emblazoned with the family crest of the owner, and they would wrap their belongings in the cloth that they would bring to and from the bathhouse.
To me, furoshiki are reminiscent of a bindle, which is often seen in old American illustrations of people walking down railroads. But while bindles are associated with transient people, who likely needed to carry items while they traveled long distances, furoshiki typically held items over short distances by high-ranking officials – serving as both a receptacle to carry items but also as an identifier for its owner.
Furoshiki are now used by people from all walks of life and are part of Japanese popular culture. They are decorated with contemporary graphics and regardless of the material of the fabric, you will notice that there is always special care taken in its edges, sewn meticulously without any fraying. While they are still used to carry items (most commonly, you will see people wrap their bentos in furoshiki), they have become popular as a type of gift wrap.
There are many elaborate wrapping techniques for furoshiki, but this week I'll introduce two that were easy enough for me, and I hope for you. Follow along here as I show you how to make a bag with a furoshiki. In this example, I'm using a shopping basket as a guide, and some random grocery items with a 40" x 40" furoshiki. Learn how to wrap a bottle with a smaller furoshiki here.
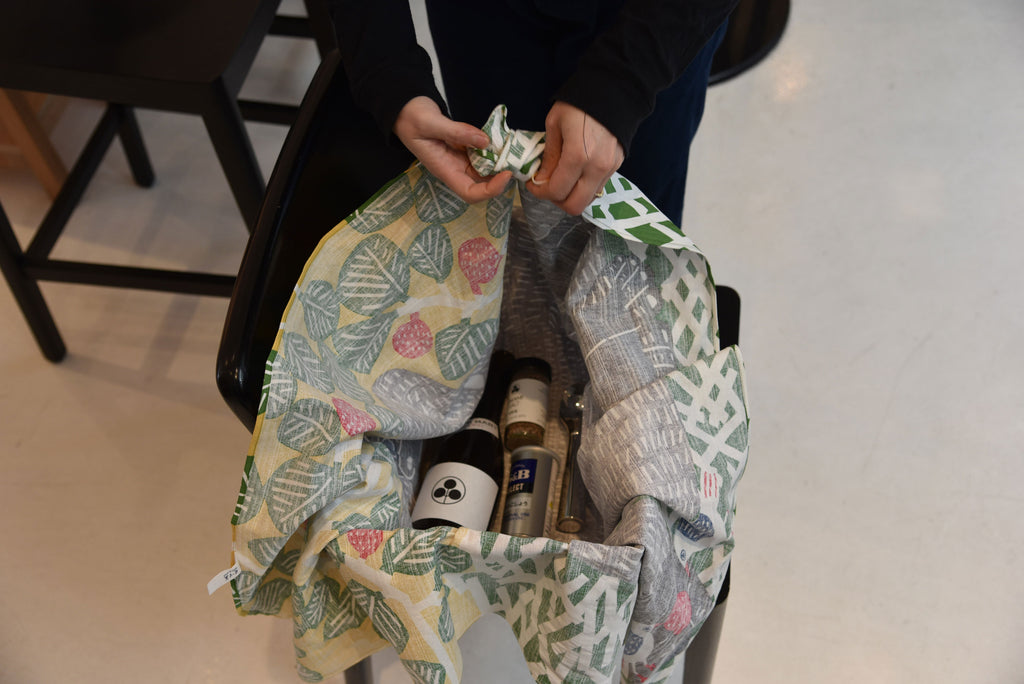
1. Lay the furoshiki, reverse side up over a shopping basket (or something similar in size).

2. Push the furoshiki in, as if to line the basket.

3. Place items in the basket.

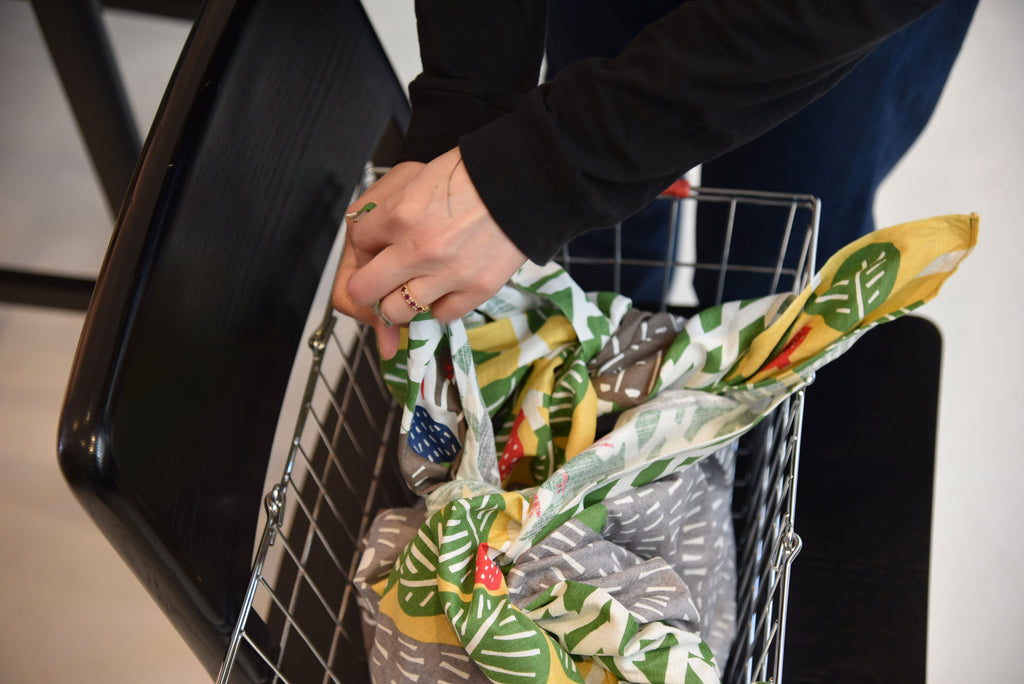
3. Tie the two corners at the short end of the basket together.
Don't be shy about tying it tight, so you have a lot of the ends of the fabric to work with.

4. Tie the two corners at the other short end of the basket together.


Position the flaps so to look like this for the next step.

5. Now, grab two corners lengthwise and make a double knot at the tips (you want some space for the "handle").

6. Do the same for the other side.


Now you've got the two "handles"!


Nip and tuck, to adjust.

7. I am now a very proud owner of a bag. You can empty the contents of the bag and put anything you can think of inside of it!


Comments (0)
There are no comments for this article. Be the first one to leave a message!