As you may know, we recently bought a country house in the deep woods of Connecticut. We now own 9 acres of land, and my imagination goes wild with what to do -- from building a chicken coop to a greenhouse, to planting yuzu and plum trees -- an all Japanese vegetable garden.
Unfortunately these things cost a lot of money and right now our focus is inside of the house, not outside. Maybe next spring, I can start a vegetable garden (which would need to be completely fenced in due to the deers in the neighborhood).
When you own a country house, you have to do things like pickling, canning, and for us Japanese, making miso, right?
I've always wanted to make miso, but for some reason or the other, I never did. Thanks to the
shio-koji boom, you can easily find koji here and I also brought bags of koji from Japan that have been sitting in my pantry for a while. So I decided to finally make miso.
Making miso is actually very easy. All you need is some kind of bean (in order to be called miso, you must use soy beans, but you could use any bean of your choice actually), salt, and koji.
The ratio of the ingredients are also not so strict. Generally, beans : koji : salt ratio is about 1 : 1 : 0.5. But you can try different ratios and see if it makes any difference. The only problem here is, your miso won't be ready for at least six months, so you should write down how much of what you used.
Anyhow, here is what I did.
I used chickpeas. And not the organic kind either, but just a couple bags of chickpeas by Goya (a cheap Mexican brand). Wash beans and soak them in water for a day or so.
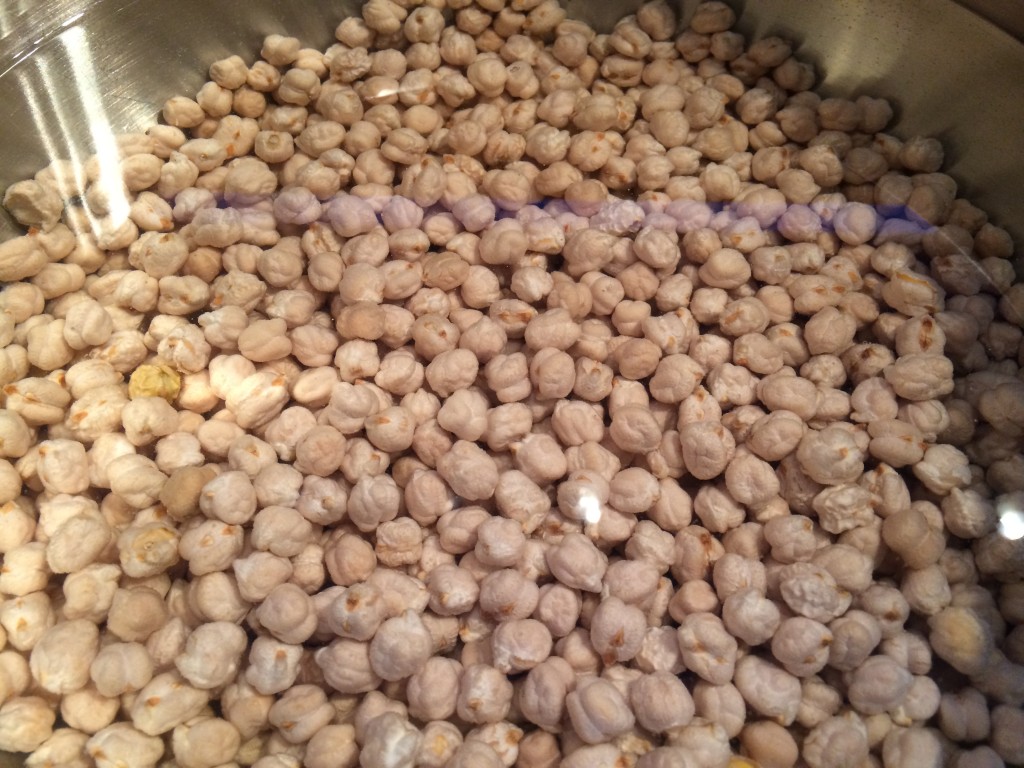
For salt, I used sea salt with lots of minerals.
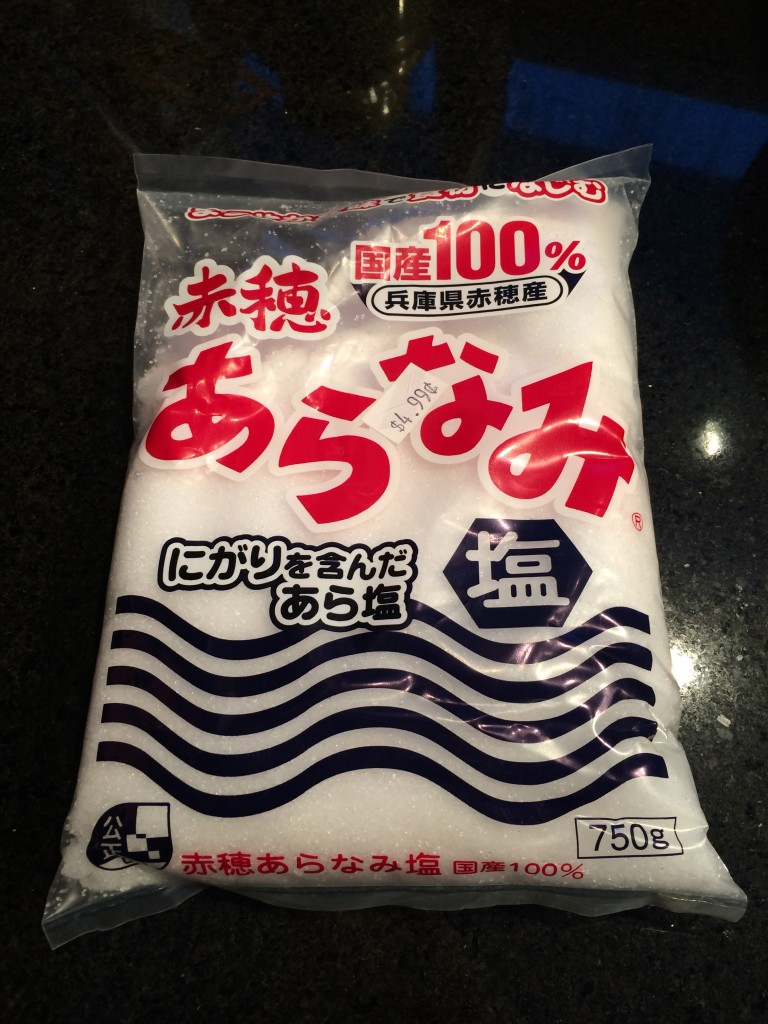
This rice koji is from Japan, but you can use the American kind as well.
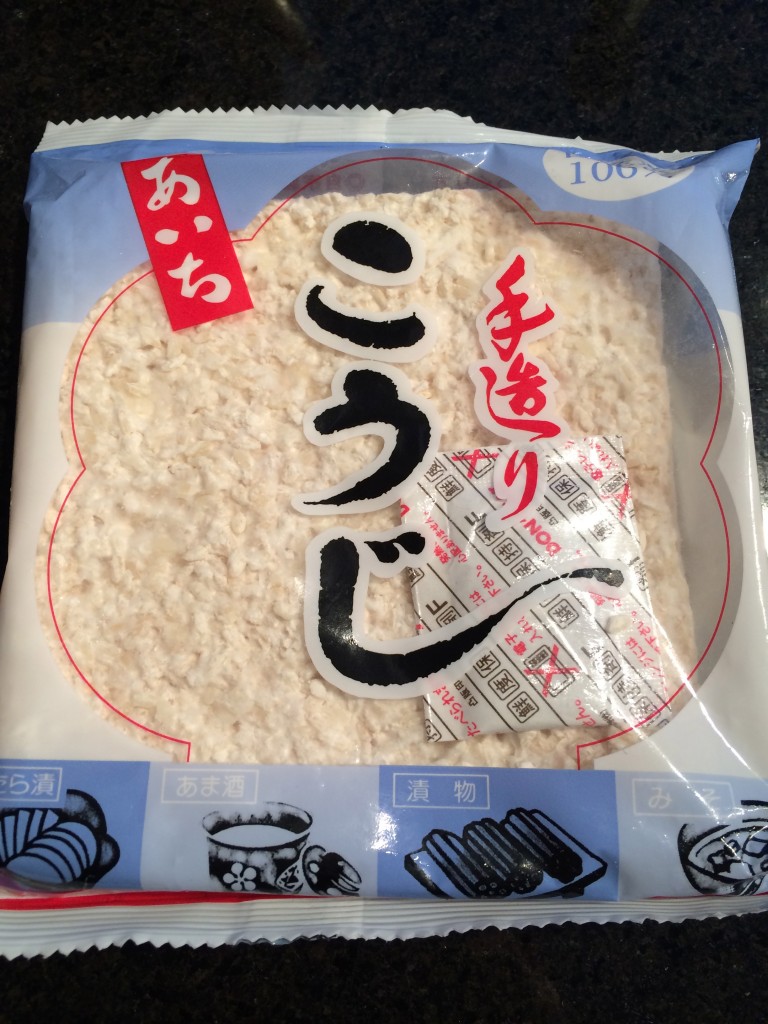
After soaking the beans for a day in water, your beans will be twice as large as when they were dry.
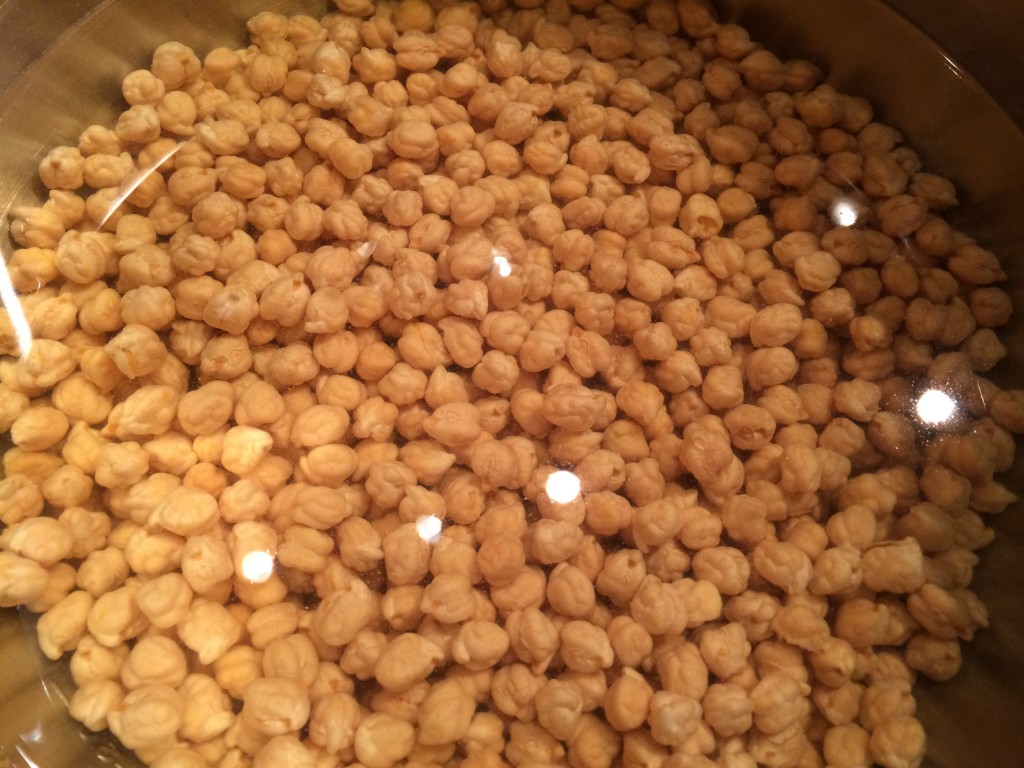
Boil them until they are very tender. How tender? Try to squeeze a bean using your thumb and pinky and if it easily breaks down, it's ready. Soy beans will take longer, but chickpeas took about 1.5 hours. Make sure to keep about 2 cups of cooking liquid. You'll need this later.
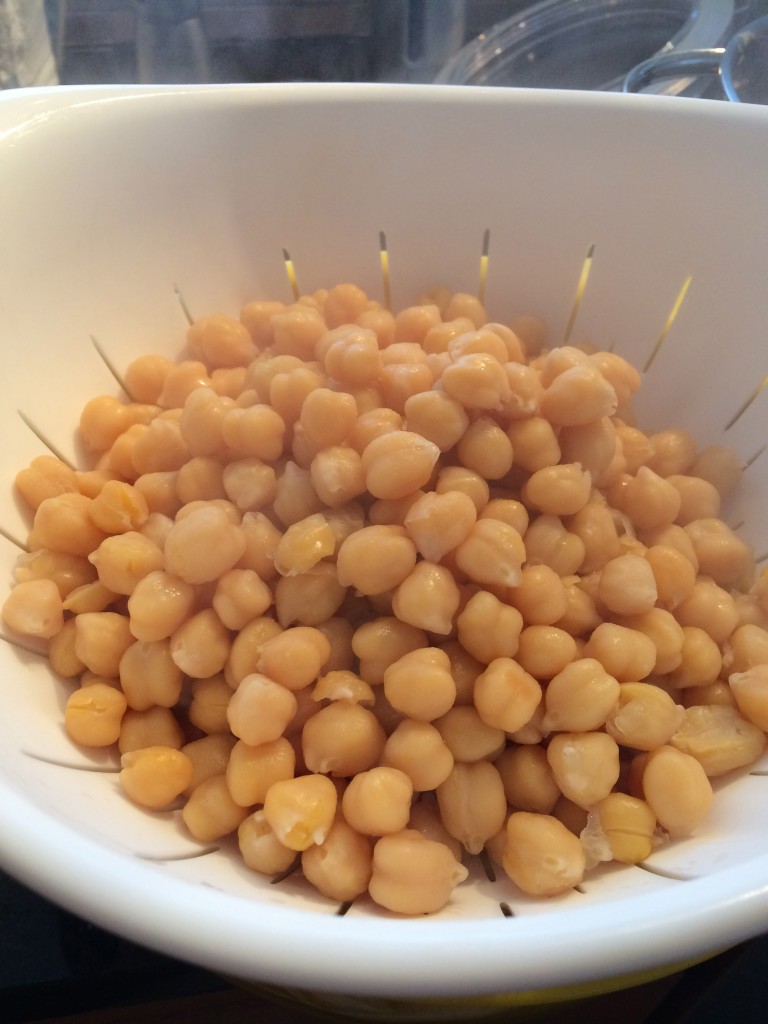
Now mash the beans. You can use a potato masher, food processor, a food grinder, or you could just put them in a bag and punch them. This part is the most labor intensive but I realized I have a food grinder, and it made this step so easy.
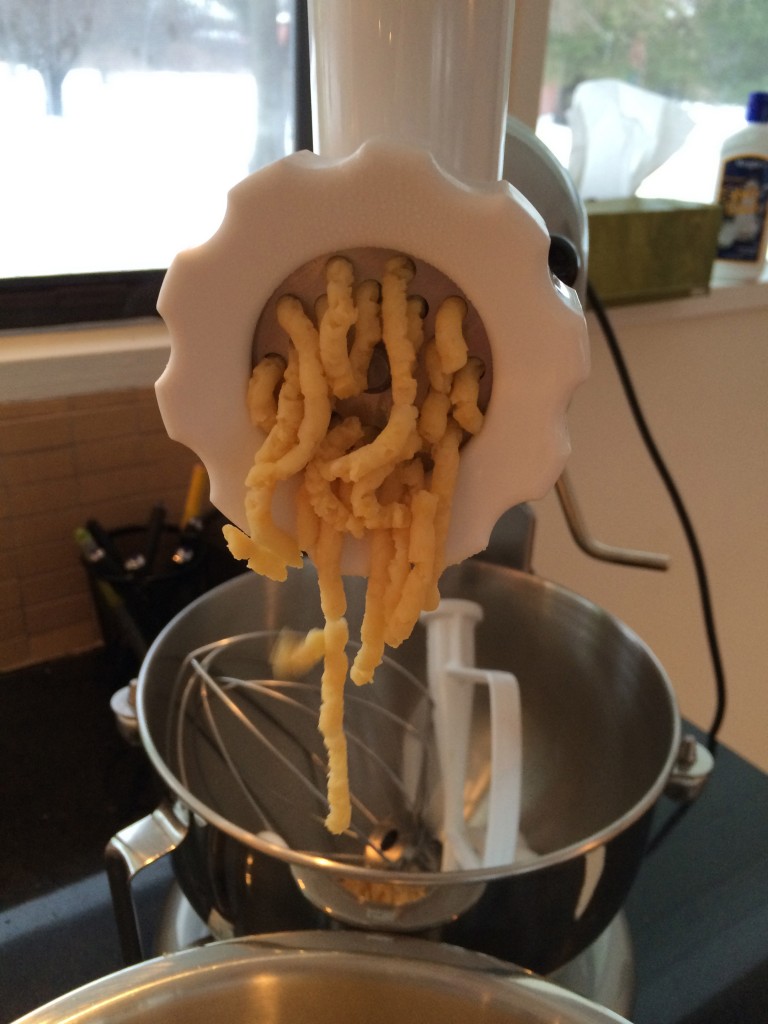
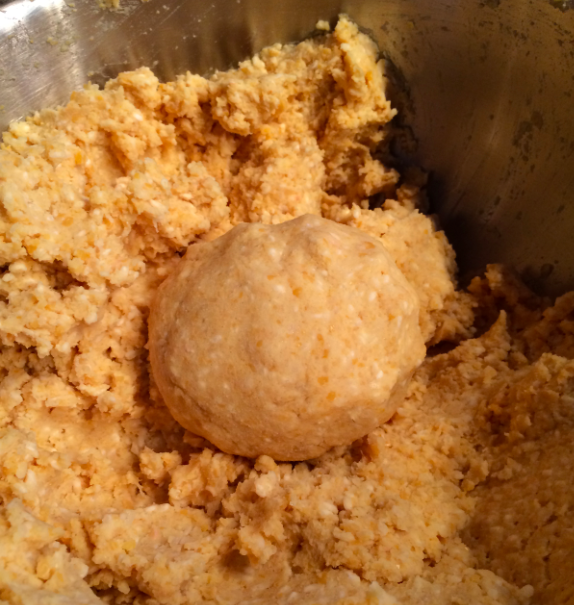
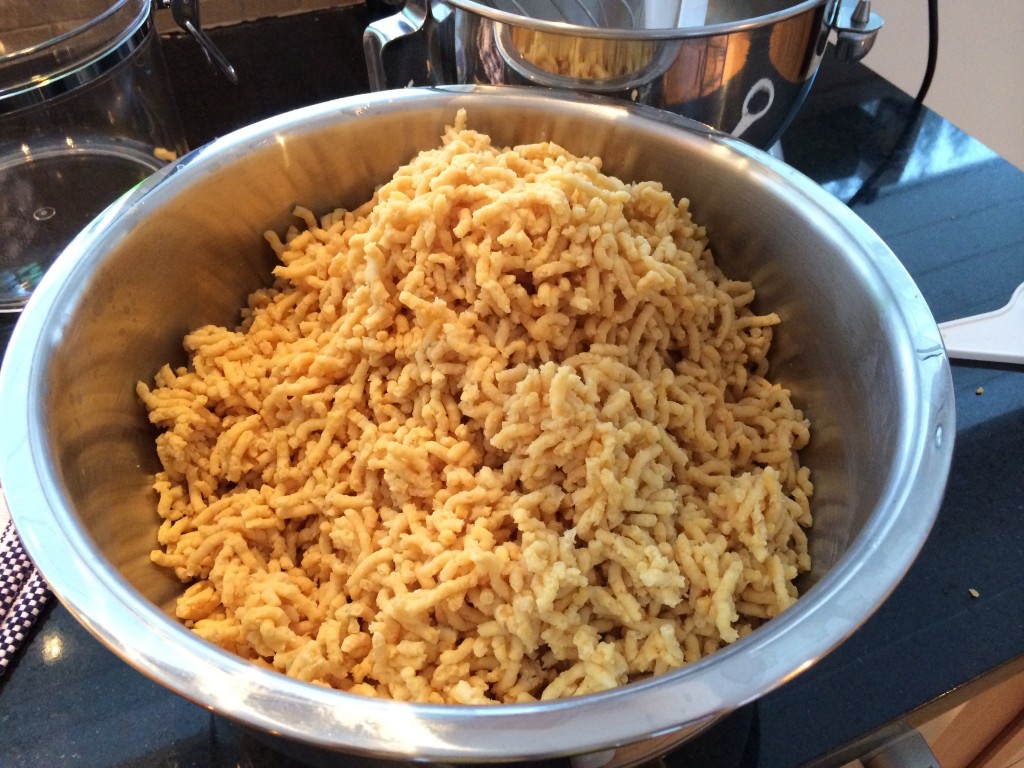
Once all the beans are mashed, this is how it looked. You want to cool it a bit since if you put the shio-koji mixture into the hot beans, the mold will be killed. Yes, koji molds need to be kept alive in order to have a full fermentation process.
The koji I used was in a brick shape, so I needed to break it down completely.
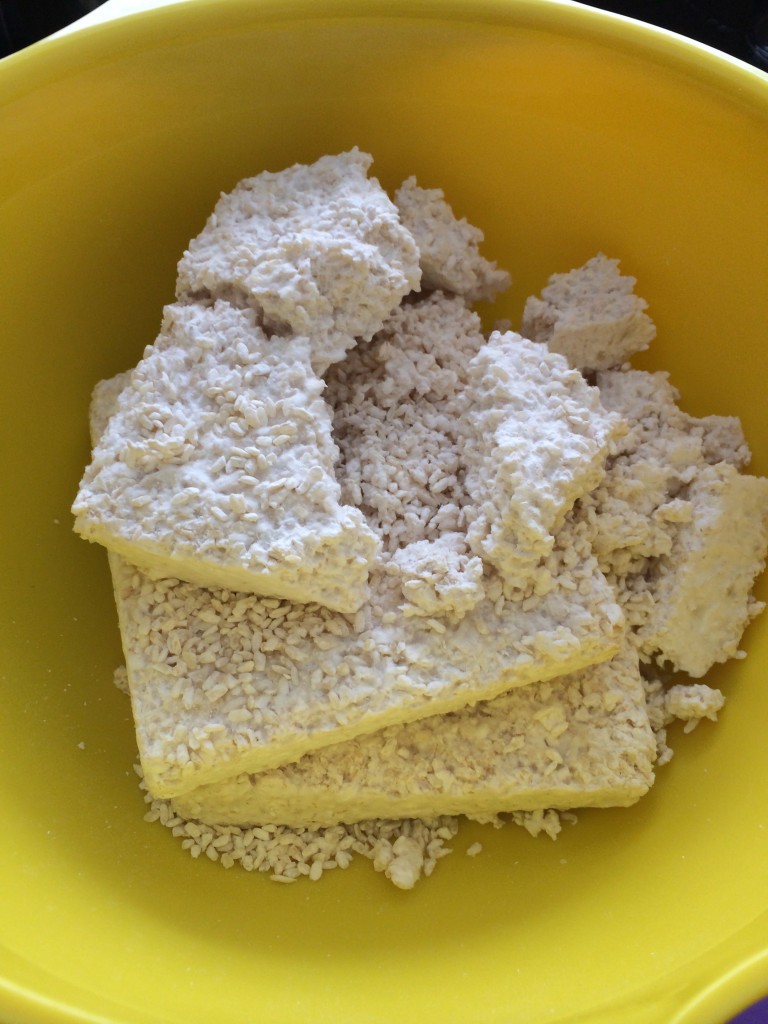
Mix the koji now with salt (keep a handful of the salt aside for later), until you feel a bit of moisture from the shio-koji mixture.
Then add them to a cooled beans (warm to your touch is perfect. Hot to the touch is too hot). Then mix the shit out of it.
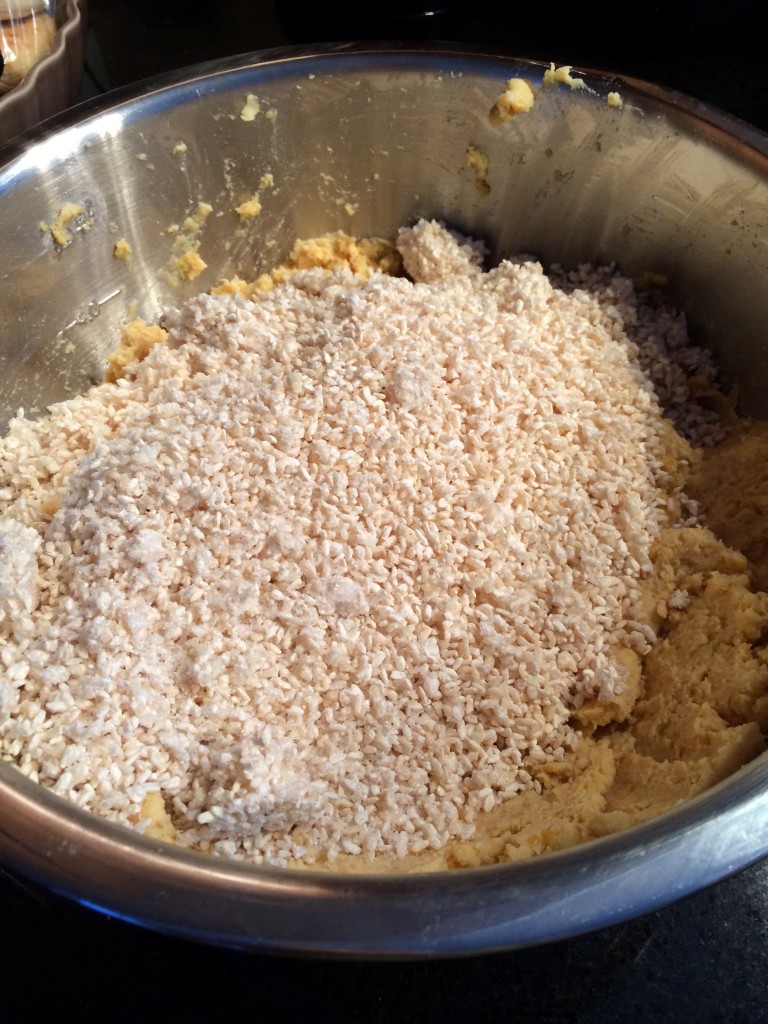
Add cooking liquid so that the texture is similar to the softness of your earlobe.
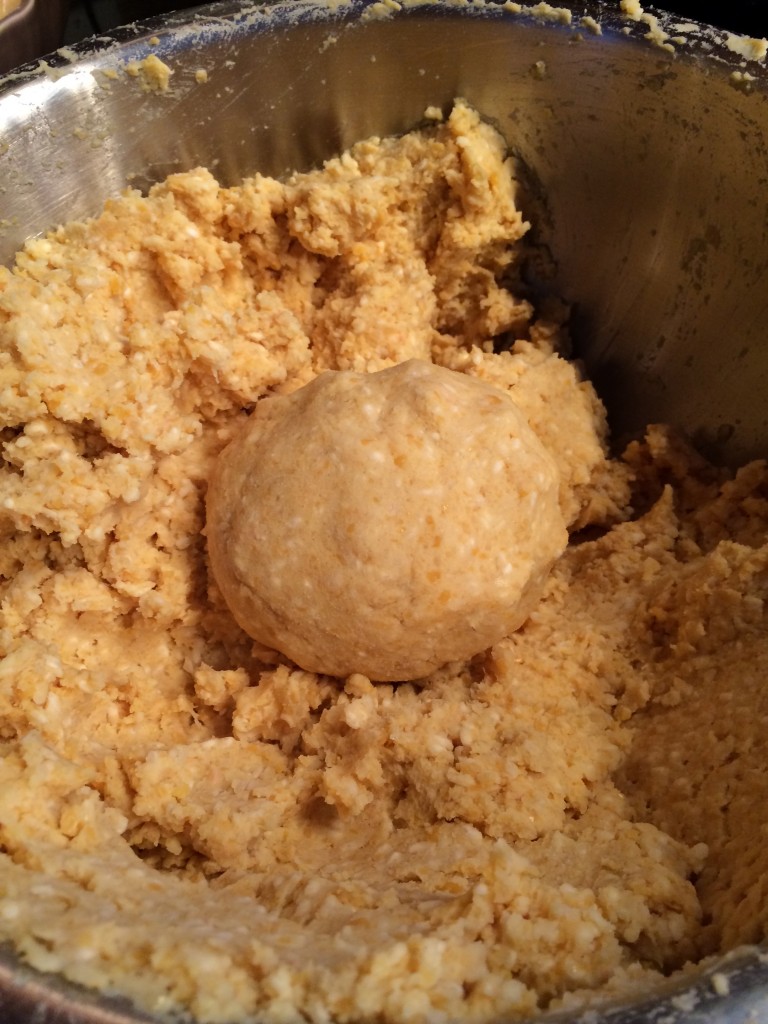
Then make balls.
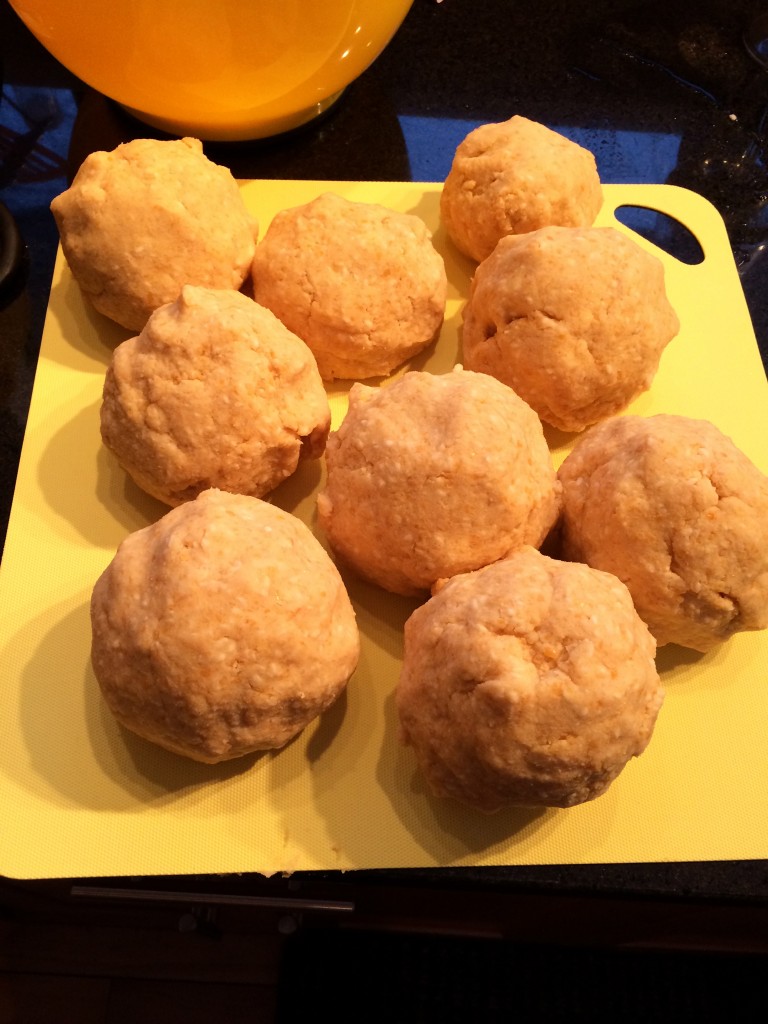
Then throw each ball into a sterilized container. How to sterilize? After washing, pour a tiny bit of vodka and wipe all surface areas with a paper towel.

By throwing each ball into the container, you try to have as little air pocket as possible, since the air pocket will cause mold issues during the fermentation process.
Sprinkle the salt you set aside on top.
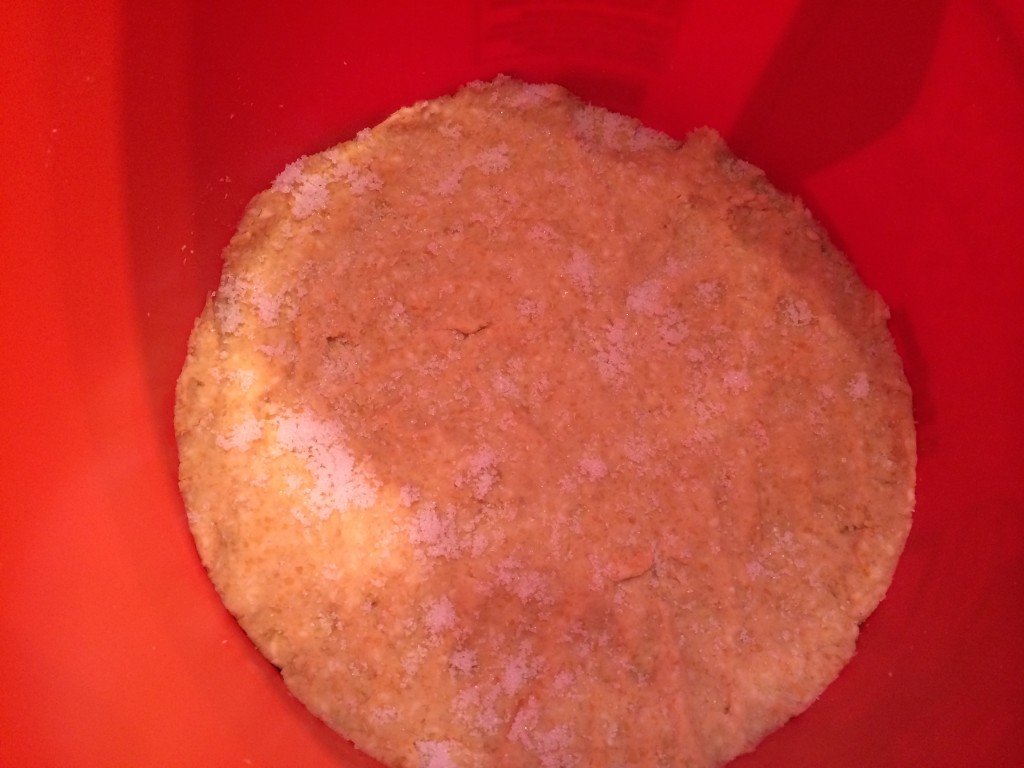
Cover the miso with plastic wrap tightly, then close the lid. Leave it in cool dark place for about three months. After three months, you want to turn the miso around and get rid of any mold at this time. Miso should be ready after about six months. So my miso should be ready to debut sometime in September.
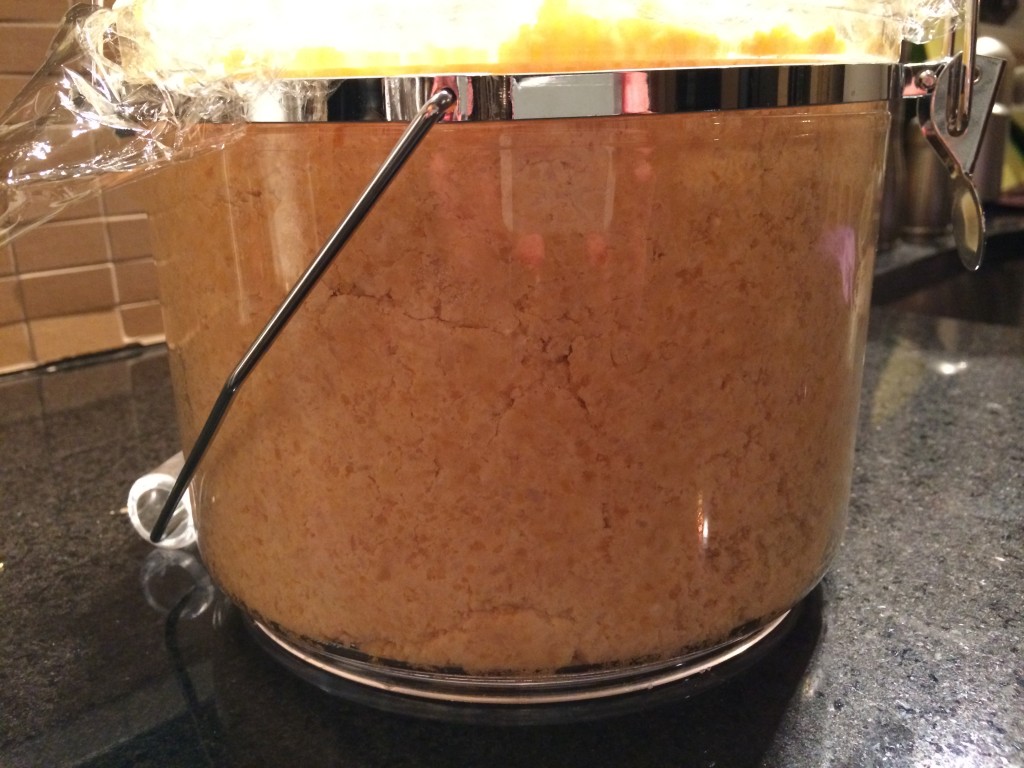
After this first trial, I wanted try different beans, so I used great northern beans and made another batch.
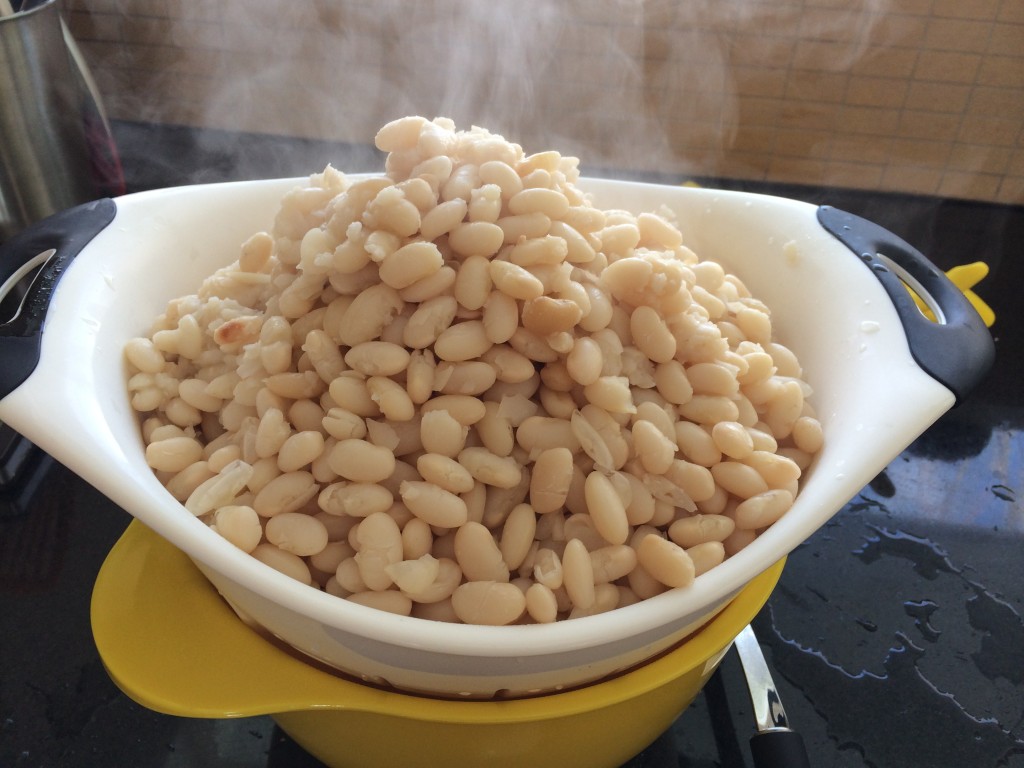
For this one, I used American-made rice koji.
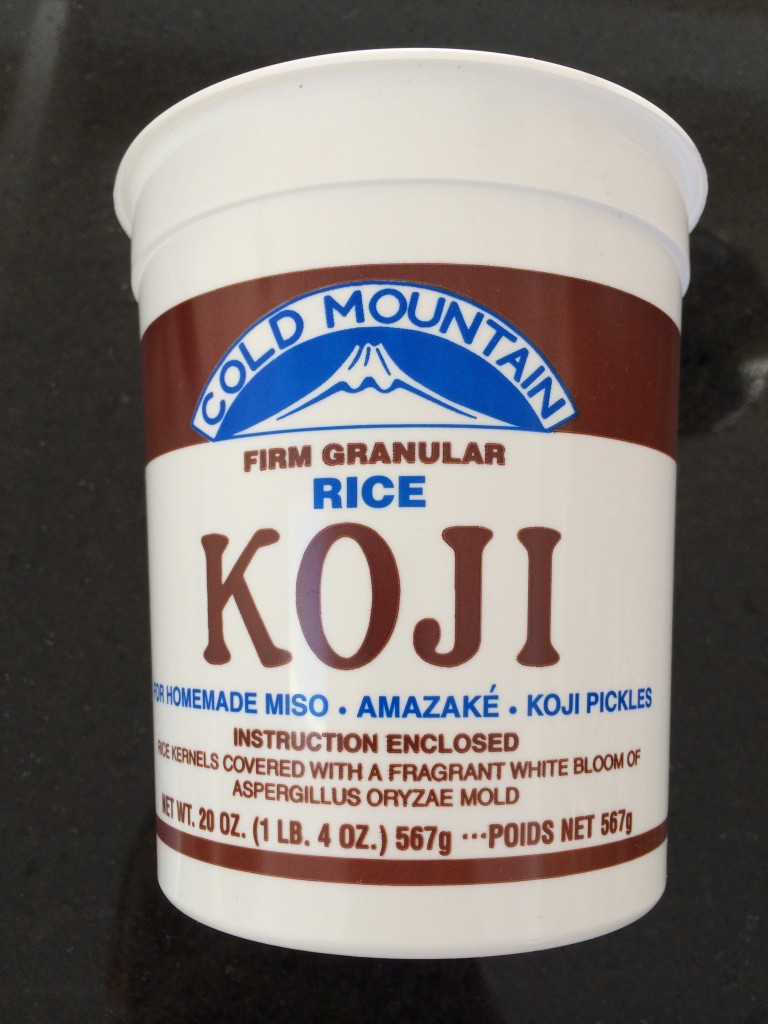
I will report again in six months on how my miso turns out.
Next I may make my own soy sauce. My koji project may make me a billionaire. Moto's miso, Moto's shoyu. Again, my daydreaming takes me everywhere.
 As you may know, we recently bought a country house in the deep woods of Connecticut. We now own 9 acres of land, and my imagination goes wild with what to do -- from building a chicken coop to a greenhouse, to planting yuzu and plum trees -- an all Japanese vegetable garden.
Unfortunately these things cost a lot of money and right now our focus is inside of the house, not outside. Maybe next spring, I can start a vegetable garden (which would need to be completely fenced in due to the deers in the neighborhood).
When you own a country house, you have to do things like pickling, canning, and for us Japanese, making miso, right?
I've always wanted to make miso, but for some reason or the other, I never did. Thanks to the shio-koji boom, you can easily find koji here and I also brought bags of koji from Japan that have been sitting in my pantry for a while. So I decided to finally make miso.
Making miso is actually very easy. All you need is some kind of bean (in order to be called miso, you must use soy beans, but you could use any bean of your choice actually), salt, and koji.
The ratio of the ingredients are also not so strict. Generally, beans : koji : salt ratio is about 1 : 1 : 0.5. But you can try different ratios and see if it makes any difference. The only problem here is, your miso won't be ready for at least six months, so you should write down how much of what you used.
Anyhow, here is what I did.
I used chickpeas. And not the organic kind either, but just a couple bags of chickpeas by Goya (a cheap Mexican brand). Wash beans and soak them in water for a day or so.
 For salt, I used sea salt with lots of minerals.
 This rice koji is from Japan, but you can use the American kind as well.
 After soaking the beans for a day in water, your beans will be twice as large as when they were dry.
 Boil them until they are very tender. How tender? Try to squeeze a bean using your thumb and pinky and if it easily breaks down, it's ready. Soy beans will take longer, but chickpeas took about 1.5 hours. Make sure to keep about 2 cups of cooking liquid. You'll need this later.
 Now mash the beans. You can use a potato masher, food processor, a food grinder, or you could just put them in a bag and punch them. This part is the most labor intensive but I realized I have a food grinder, and it made this step so easy.
 Once all the beans are mashed, this is how it looked. You want to cool it a bit since if you put the shio-koji mixture into the hot beans, the mold will be killed. Yes, koji molds need to be kept alive in order to have a full fermentation process.
 The koji I used was in a brick shape, so I needed to break it down completely.
 Mix the koji now with salt (keep a handful of the salt aside for later), until you feel a bit of moisture from the shio-koji mixture.
Then add them to a cooled beans (warm to your touch is perfect. Hot to the touch is too hot). Then mix the shit out of it.
 Add cooking liquid so that the texture is similar to the softness of your earlobe.
 Then make balls.
 Then throw each ball into a sterilized container. How to sterilize? After washing, pour a tiny bit of vodka and wipe all surface areas with a paper towel.
 By throwing each ball into the container, you try to have as little air pocket as possible, since the air pocket will cause mold issues during the fermentation process.
Sprinkle the salt you set aside on top.
 Cover the miso with plastic wrap tightly, then close the lid. Leave it in cool dark place for about three months. After three months, you want to turn the miso around and get rid of any mold at this time. Miso should be ready after about six months. So my miso should be ready to debut sometime in September.
 After this first trial, I wanted try different beans, so I used great northern beans and made another batch.
 For this one, I used American-made rice koji.
 I will report again in six months on how my miso turns out.
Next I may make my own soy sauce. My koji project may make me a billionaire. Moto's miso, Moto's shoyu. Again, my daydreaming takes me everywhere.


Comments (3)
I’m thinking about trying my hand at a batch of miso. Any advice? Thanks!
What ever happened to your homemade Miso batch?
My hats off to you! You are SO living my dream Moto! Urayamashi~~~~