I am hosting a rather important dinner party with lots of opinionated eaters this weekend, so I've been practicing and experimenting with what I may serve.
In the last year or so, whenever you go to an upscale restaurant, you always encounter
sous-vide this and
sous-vide that. What is
sous-vide? To explain it in simplest terms, it is basically a water-bath cooking method. Currently many chefs are crazy over this, and sous-vide machines are popping up everywhere, even at Bed Bath and Beyond. If you have enough space in your kitchen, and money, you can invest in one of these babies for $500-$1,000, but seriously, that's just too much. The basics of sous-vide is that you keep the water warm at 140˚F, and cook your meat/fish/vegetables vacuum-sealed, for a long time. After extensive research, I found that you can actually make pretty darned good sous-vide cooking at home, without using the fancy equipment.
The most important part of sous-vide is that whatever food you are cooking must be vacuum sealed. This part is the biggest pain in the ass. I am still contemplating whether to buy a vacuum sealer, but what else would I use it for? When I first saw Ziploc bags with a vacuum seal, and when I saw them, I was like, who needs them? But now that I do need them, I can't find them anywhere any more. Maybe next time I rent a Zipcar, I will look around inventories in NJ or something. Obviously New Yorkers do not need Ziploc vacuum seal bags.
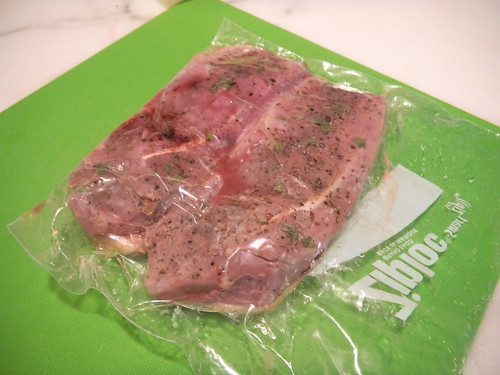
So how should you vacuum seal your regular Ziploc bag? You can try to squeeze as much air out, but there's a limit to this. Another option is to stick a straw in the corner and suck the air out. I tried it, but I almost fainted, so this may be a health hazard. Besides, sucking raw meat air isn't pleasant. [By the way, above was my first trial with duck.]
Then I found a post on dipping the whole bag in water. By sinking the bag into water, it naturally gets rid of air. Try to sink all the way to the top of the bag, squeeze the air out, and quickly seal it.
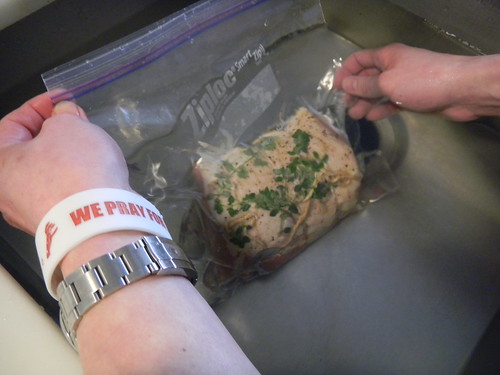
It's pretty easy, and pretty good sealing without spending any extra money. I would say this is a pretty good job.
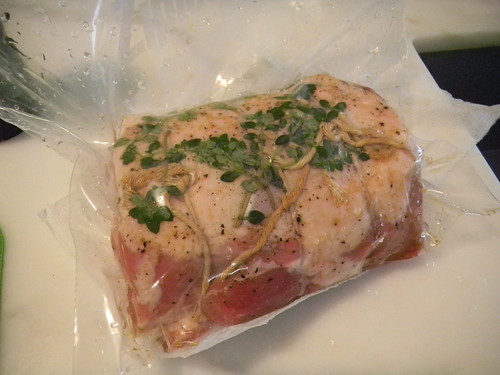
Keeping the water temperature at 140˚F is a bit tricky. First trial when I made sous-vide duck, I stuck a heavy pot in the oven and set it at 170˚F, and kept an eye on the water temperature using a probe. It stayed at 135˚F throughout the cooking process.
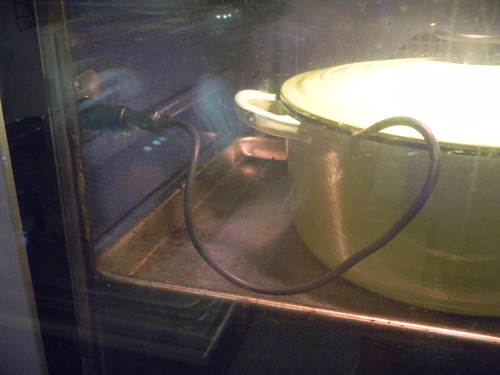
It came out ok, but nothing special--it tasted just like regular duck breast. The meat was rather chewy as well.
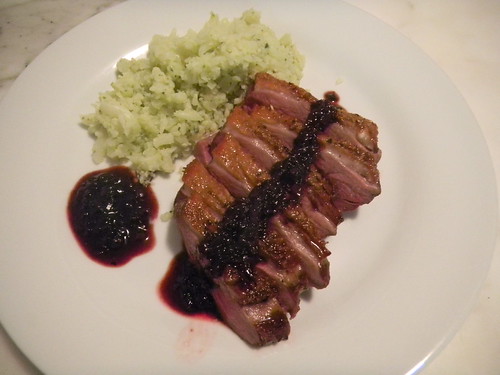
So the second time, when I went with a pork loin, I set the pot onto the stove top, and kept the lowest heat.
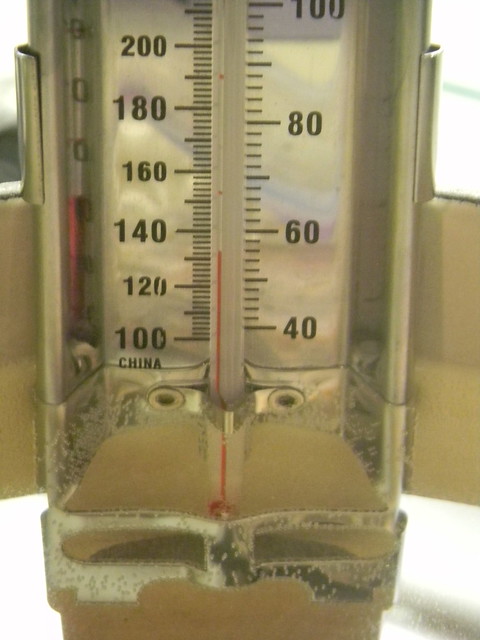
Using a candy thermometer, I tried to maintain the temperature at 140˚F. On my stove, the water kept rising to 145˚F, which was annoying. I kept monitoring the progress, and whenever it went over 140˚F, I cut the heat for about 10 minutes, then restarted the heat again.
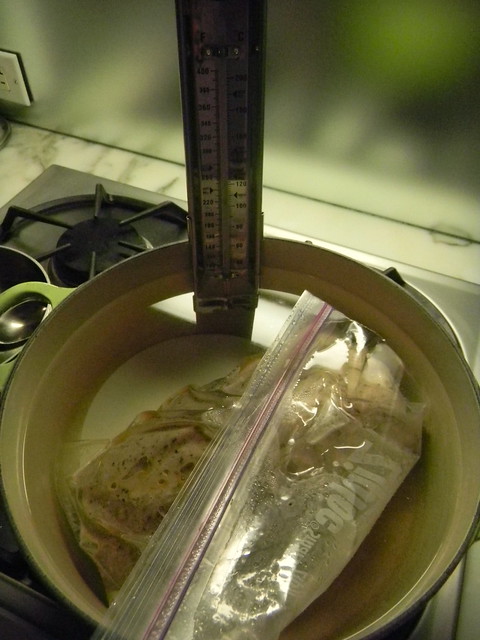
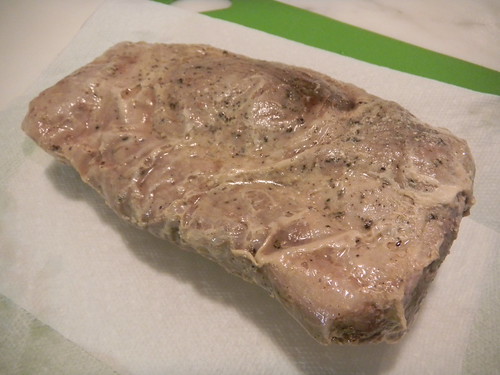
After fours hours of turning the heat on and off, the pork was done. It comes out looking rather gross, but don't worry. Now it's time to sear the surface.
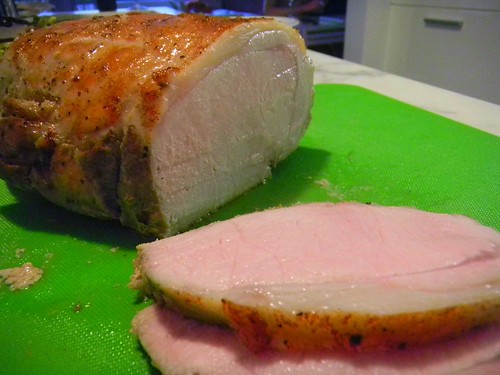
Now this looks more like what pork loin should look like.
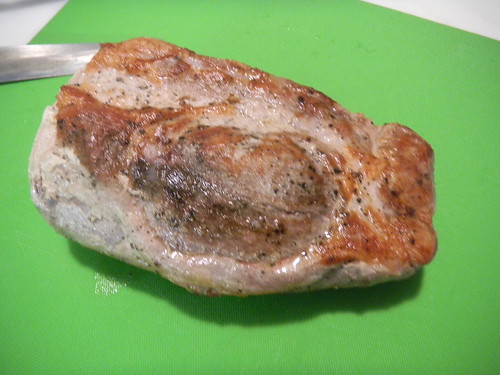
OMG, this was the most tender, juicy, succulent pork I've ever cooked. No wonder it's so popular. I had leftover braised red cabbage, so I placed pork on top of it.

Sous-vide is totally the way to go--no more tough meat when you use this method.
Here's my third trial, using pork again, right after I took it out of the bag after cooking.
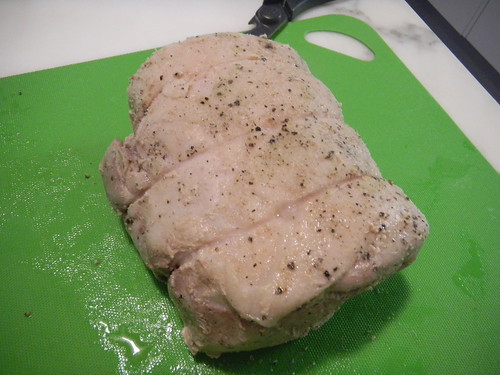
Post-torching.

PORK PORN!!
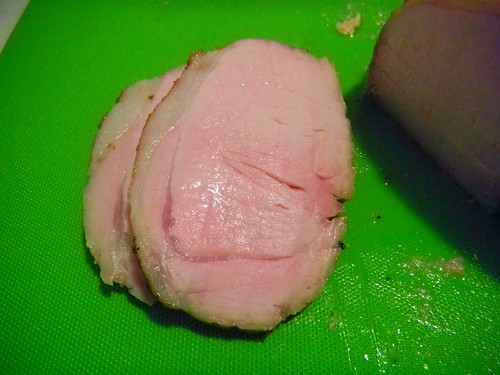
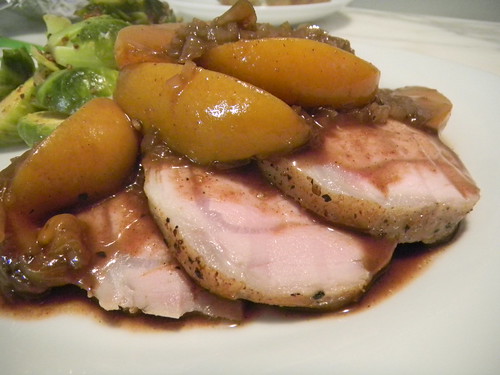
I cooked peach, balsamic vinegar, shallots and cinnamon together and poured over the meat.
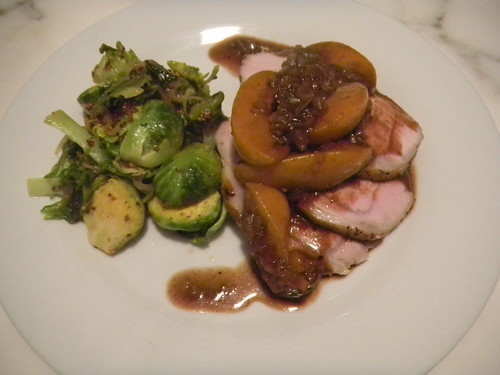
More pork porn!
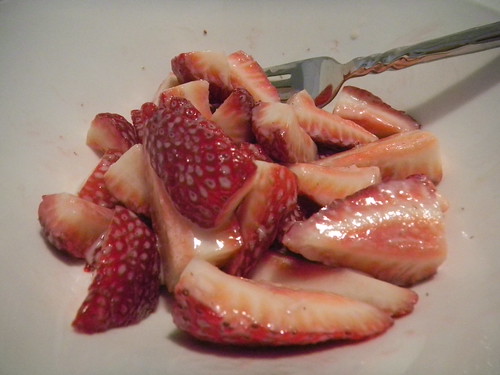
For dessert, I cut up strawberries, and coated it with condensed milk. So Japanese! I used to suck condensed milk out of a tube. Although I hate milk, I love condensed milk.
The cooking process takes long, but there's nothing complicated in this method, so try this at your home as well. You will be amazed by how tender the meat gets.
 I am hosting a rather important dinner party with lots of opinionated eaters this weekend, so I've been practicing and experimenting with what I may serve.
In the last year or so, whenever you go to an upscale restaurant, you always encounter sous-vide this and sous-vide that. What is sous-vide? To explain it in simplest terms, it is basically a water-bath cooking method. Currently many chefs are crazy over this, and sous-vide machines are popping up everywhere, even at Bed Bath and Beyond. If you have enough space in your kitchen, and money, you can invest in one of these babies for $500-$1,000, but seriously, that's just too much. The basics of sous-vide is that you keep the water warm at 140˚F, and cook your meat/fish/vegetables vacuum-sealed, for a long time. After extensive research, I found that you can actually make pretty darned good sous-vide cooking at home, without using the fancy equipment.
The most important part of sous-vide is that whatever food you are cooking must be vacuum sealed. This part is the biggest pain in the ass. I am still contemplating whether to buy a vacuum sealer, but what else would I use it for? When I first saw Ziploc bags with a vacuum seal, and when I saw them, I was like, who needs them? But now that I do need them, I can't find them anywhere any more. Maybe next time I rent a Zipcar, I will look around inventories in NJ or something. Obviously New Yorkers do not need Ziploc vacuum seal bags.
 So how should you vacuum seal your regular Ziploc bag? You can try to squeeze as much air out, but there's a limit to this. Another option is to stick a straw in the corner and suck the air out. I tried it, but I almost fainted, so this may be a health hazard. Besides, sucking raw meat air isn't pleasant. [By the way, above was my first trial with duck.]
Then I found a post on dipping the whole bag in water. By sinking the bag into water, it naturally gets rid of air. Try to sink all the way to the top of the bag, squeeze the air out, and quickly seal it.
 It's pretty easy, and pretty good sealing without spending any extra money. I would say this is a pretty good job.
 Keeping the water temperature at 140˚F is a bit tricky. First trial when I made sous-vide duck, I stuck a heavy pot in the oven and set it at 170˚F, and kept an eye on the water temperature using a probe. It stayed at 135˚F throughout the cooking process.
 It came out ok, but nothing special--it tasted just like regular duck breast. The meat was rather chewy as well.
 So the second time, when I went with a pork loin, I set the pot onto the stove top, and kept the lowest heat.
 Using a candy thermometer, I tried to maintain the temperature at 140˚F. On my stove, the water kept rising to 145˚F, which was annoying. I kept monitoring the progress, and whenever it went over 140˚F, I cut the heat for about 10 minutes, then restarted the heat again.
 After fours hours of turning the heat on and off, the pork was done. It comes out looking rather gross, but don't worry. Now it's time to sear the surface.
 Now this looks more like what pork loin should look like.
 OMG, this was the most tender, juicy, succulent pork I've ever cooked. No wonder it's so popular. I had leftover braised red cabbage, so I placed pork on top of it.
 Sous-vide is totally the way to go--no more tough meat when you use this method.
Here's my third trial, using pork again, right after I took it out of the bag after cooking.
 Post-torching.
 PORK PORN!!
 I cooked peach, balsamic vinegar, shallots and cinnamon together and poured over the meat.
 More pork porn!
 For dessert, I cut up strawberries, and coated it with condensed milk. So Japanese! I used to suck condensed milk out of a tube. Although I hate milk, I love condensed milk.
 The cooking process takes long, but there's nothing complicated in this method, so try this at your home as well. You will be amazed by how tender the meat gets.


Comments (5)
hubby and i are having dinner party this friday. i am gonna let him try this. i am not, but he will. (by the way, he loves you since 包丁の研ぎ方on Umami and follows your post).
I will also try this at my home.
I think I forgot to write that you need to salt and pepper the meat. In my case, I also sprinkled garlic powder and rubbed with soy sauce as well. Sauce is also unlimited, yet very important. Basically sous-vide makes very tender meat, but you still want to add a lot of flavor on the final dish.
Thank you for the post. I’ve buy a new vacuum sealer. Maybe I’ll try this tonight.
I’m using FoodSaver V3240 for sous vide pork. That sounds good. Thanks for your shares, that helps me very much!